
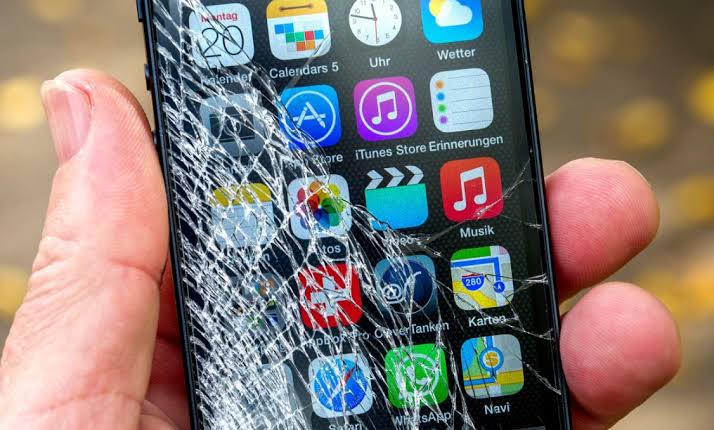
Broken screens on your tablet or phone can be caused by design flaws and manufacturing defects, but most often it is due to an unfortunate accident.
Broken or cracked screens can be costly to repair. With a little practice, you can easily replace the damaged screen yourself. This is easy and can save you lots of money.
You will pay more for third-party repairs depending on your tablet or phone model than you would for it to be fixed by you.
You will need the screen of your phone or tablet, as well as tools such a pry openr, a screwdriver set, small tweezers and a heat gun, and gloves for safety.
Screen repair kits cost only $10 and include most of the tools you need. You will need a replacement digitizer for a tablet that costs $50.
These are some things to consider before you put your DIY skills to the ultimate test.
Are you insured?
High-end retailers often sell tablets and phones with warranties that don’t cover accidental damage. Insurance for accidental damage is why this is important.
You don’t have to fix it yourself or pay high prices if you have a dedicated gadget insurance.
What is the Manufacturer’s Warranty?
Manufacturers offer a warranty that covers any manufacturing defects. Even damage to the screen is covered. For instance,Apple is considering replacing the screen for affected phones.
If your screen crack is not your fault, and your warranty remains intact, then you can take your device to the manufacturer for free service.
Is the warranty voided if it is repaired?
Your warranty will be canceled if you attempt to repair your device yourself or take it to an expensive third-party shop. You cannot return to the manufacturer for free service if that happens.
4 Steps To Replace Broken Screen
Here are four easy steps to fix your screen in no more than a few minutes.
Step 1. Step 1. Assess the damage
Screen protectors are a common item. Even though gorilla glasses have built-in protectors it is best to add another protector.
Most often, if you drop your phone accidentally, the protector absorbs the shock and protects the screen.
If your phone is dropped and the screen appears cracked, you can remove the protective cover and check if it is truly damaged. Same goes for your tablet. Check that the screen is still in good condition after any damage.
Step 2. Step 2.
Once you’ve determined the extent of damage, you can start the demolition. Here are some tips.
- Take off the cover gently and remove the battery.
- Once you have exposed the clasps, loosen the cables as a camera cable. Tape-style cables will require gentle tugging, as adhesive may be used to some.
- Remove the Torx screws holding the back frame that contains the LCD chassis. Place the screws in a bowl to prevent them from being lost.
- Take the frame off the chassis by gently pulling it apart. If the frame is still attached to the chassis, you can look for hidden screws or cables.
- To remove the LCD chassis’ front bezel, unscrew the second layer. Keep the screws in a separate container.
- Use a heat gun or heat gun to remove the cracked/damaged glass from the frame. Use gloves to carefully remove the glass. You will need the glass in one piece so make sure to not break the bezel.
Step 3. Step 3.
Once you have removed the damaged screen, it’s time to replace it.
You will first need to attach two-sided tapes to areas where the bezel is not sticky. If possible, you can reuse the adhesive. You must ensure that the tap doesn’t accidentally stick to the glass’s visual or inside.
Next, attach the foam paddings and seals. Be careful not to touch any glass inside. It will be difficult to clean fingerprints after the assembly is complete.
To secure the glass in place, you will need to separate the cables. To keep your LCD clean, slide the can of compressed air slowly.
Step 4. Step 4.
The only thing left to do is to reattach all the parts. You can also remove the camera from the tripod and attach it to the tripod.
When attaching cables, make sure to look for solid connections and that the claps are not broken. Do not panic if you accidentally use the wrong set of screws.
To avoid making this mistake, make sure you put the screws in different bowls. This small error is normal.
After you’re done with the screws and the metallic tape, make sure that everything is in the correct order. It is a sign that you have done a great job.
Last Thoughts
If your phone’s screen has been damaged by an accident and you don’t have any experience in repairing broken screens, it is best to return it to the manufacturer or to a third-party retailer.
You should first test your skills with unused phones. After enough practice, you’ll be able fix any broken screen on your tablet or phone.